There are quite a few instances where deploying custom Home Screen layouts on iOS devices are advantageous to companies. One example that stands out to me stems from recent work that our team performed with a Healthcare facility. The clinic maintains multiple shared iPads – each devoted to a specific use case.
In this instance, certain iPads were used to communicate information with patients, while others were used internally by clinical staff to access data pertinent to their unique role. Upon login, end users in both instances were presented with a home screen of apps relevant to their needs – while suppressing other apps that may cause confusion or contain sensitive data. This clean Home Screen experience was made possible through an Intune configuration specially designed for iOS.
Tailoring the Home Screen experience for a unique use (shared or dedicated devices) allows admins to consolidate the home screen layout to display/have access to only the apps, folders, and shortcuts that the device or user needs.
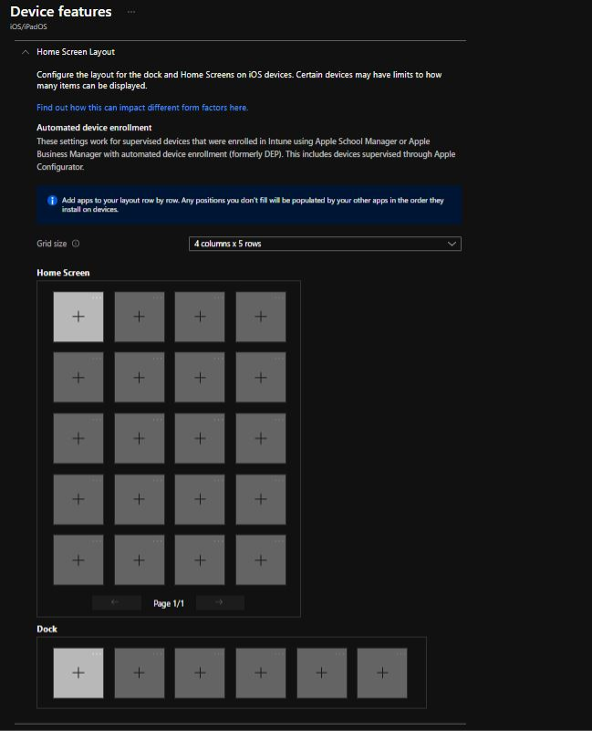
Currently, there are three fields within the Home Screen Layout that can be modified in Intune.
-
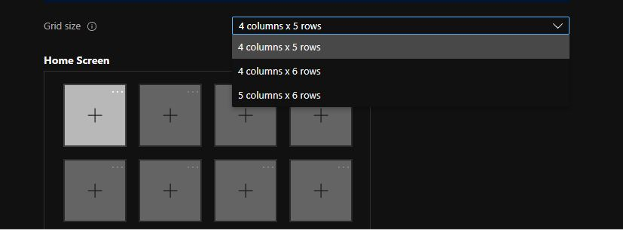
The Home Screen Grid size
-
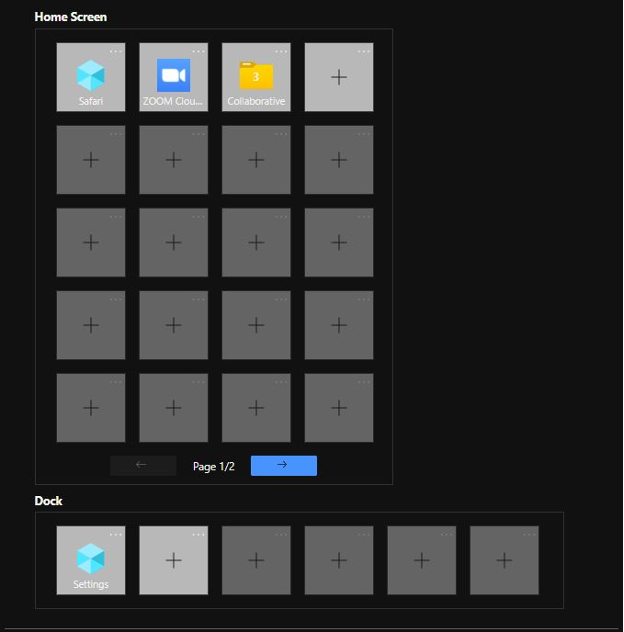
Applications/shortcuts/folders to be displayed on the home screen
-
The Dock
This device feature can also be used in conjunction with the Device Restriction setting – a Hidden App List that only displays apps you have chosen not to hide by leaving the Home Screen Layout configuration blank. It achieves this when you simultaneously add the apps you wish to hide in the Hidden App List. *Please note: These settings work for supervised devices that were enrolled in Intune using Apple School Manager or Apple Business Manager with automated device enrollment (formerly DEP). This includes devices supervised through Apple Configurator.
Check out how you can customize iOS device Home Screens for your group below.
Instructions:
-
In Intune, navigate to Devices -> iOS/iPadOS -> Configuration profiles
-
Within the Configuration profiles section, click Create profile and then choose Device features from the Profile type drop-down menu.
-
After choosing Device features, enter in a required name within the Basics tab for this configuration and then choose Next
-
Now you will be in the Configuration settings tab which have a few different new drop-down menus. Look for Home Screen Layout and click on it to expand the options. Please refer to the below screenshots:


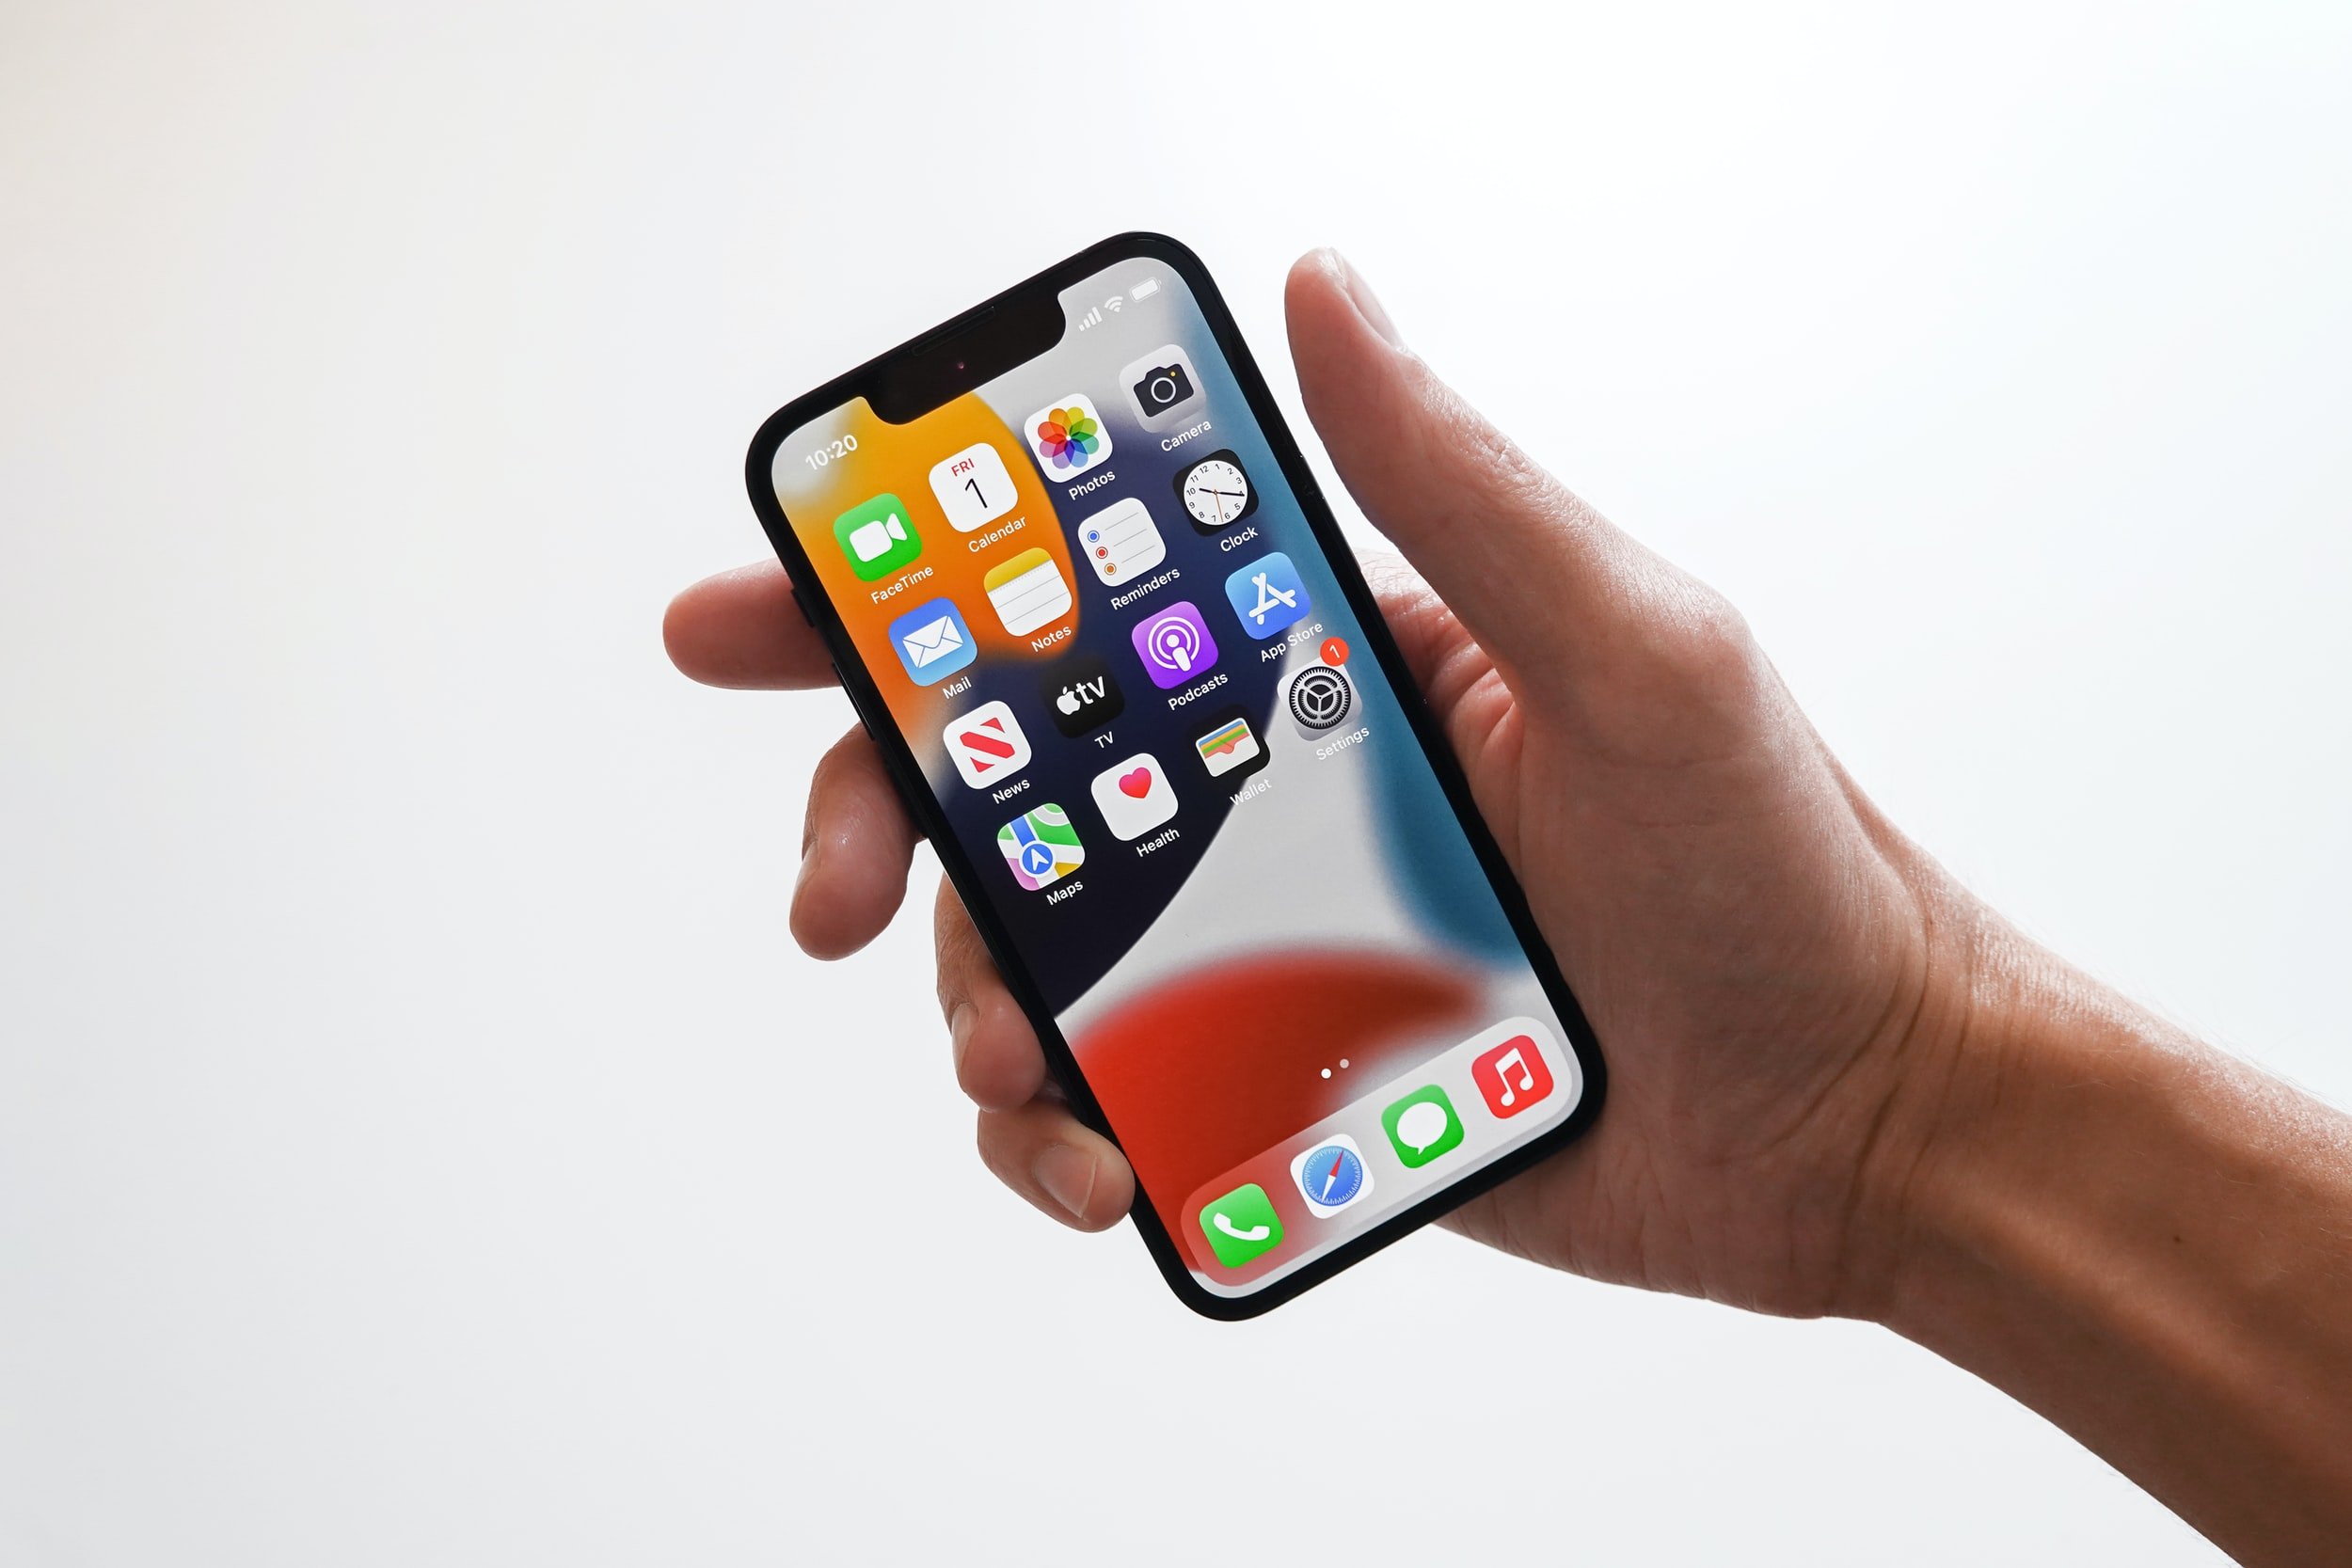
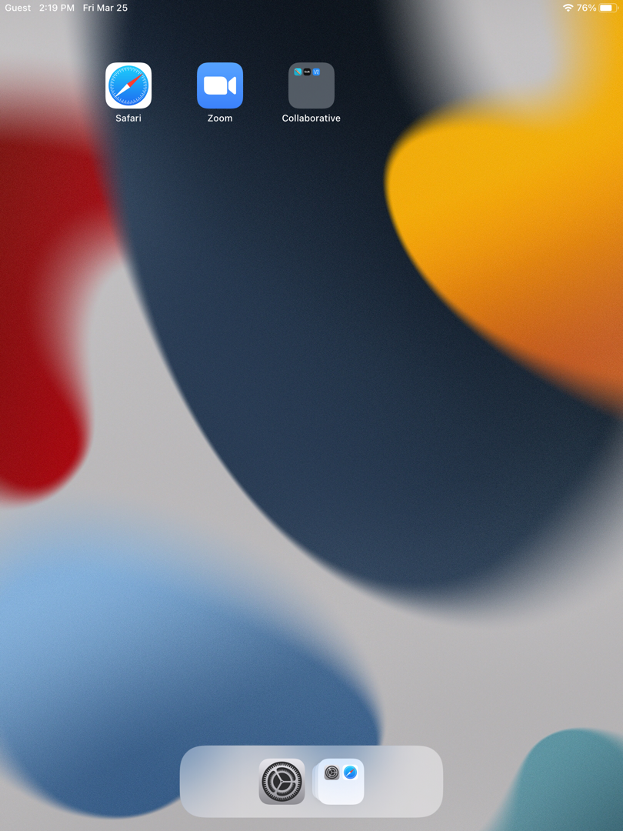
5. Once you have finalized your configurations, simply click Next through each following tab after filling out any required and/or optional information (including assigning this profile to the intended Azure Active Directory group). Finally on the last tab (Review + Create), click Create when you have finished reviewing. Please see below for example pictures of the configuration and final product of the end user/device experience:

Download the Six Pillars of Modern Endpoint Management
Deep Dive Concepts such as:
- Zero Trust
- Passwordless Authentication
- Zero Touch Provisioning
- App Management
- Over-The-Air Updates
- Remote Support